Free Mobile-friendly Time Tracking Web Application with Google Sheets
Published on January 5, 2019

by Erik Shipley
Time tracking applications for small businesses can be expensive, overly complex, and difficult to implement. To avoid the costs, many startups resort to suboptimal tools including spreadsheets, email, etc. Fortunately, Google has some great tools that can be used to create free web applications, with security and authentication tied to your domain, using Google Sheets as a back-end database. NOTE: security and authentication are only available if you use G Suite (i.e. Google is hosting your email).
This web application is optimized for mobile access and allows you to:
- Create clients & projects,
- Assign staff to projects to allow them to record time only to approved projects, and
- Automate sending daily Slack reminders to your team to record their time.
Following this tutorial creates a fully-functioning web app in only 5 minutes if you copy both the spreadsheet & script (30-45 minutes to build from scratch).
This application will use your email address to authenticate the user as access will be restricted to those within your domain. The local-part of the email (the text before the @) will be used to identify the individual recording their time.
Get 20% off G Suite!Use promo code: J3YQNM9GWY6N3GH for basic or X3CPFQXPVMTNVXX for business
- Create a new google sheet at sheets.google.com (or save a copy of this one).
If you save a copy, skip to 1(b)4 and change both a tab name and cell B2 on the project_access tab to the local part of your email address. Then skip to 1(k). - Change the sheet name to: time_tracker
- Create at least 4 tabs with the following names (and column headings in row 1, starting in A1):
- clients (client_ID, client_name, client_address, client_contact_name, client_contact_title)
- projects (project_ID, client_ID, client_name, project_name, project_status)
- project_access (project_ID, staff_name, project_name)
- an additional tab for each user (use local-part of email as tab name)...e.g. email_name1@company.com should have a tab named: email_name1 (Time_stamp, date, project_ID, hours, status)

- In cell A2 of the clients and projects tabs, insert this formula to automatically create unique IDs (copy + paste down to additional cells, as needed):
=if(B2="","",row(A1))
- In cell B2 of the projects tab, insert this formula to automatically insert client IDs based on name selected (copy + paste down to additional cells, as needed):
=iferror(index(clients!$A$1:$E$1000,match($C2,clients!$B$1:$B$1000,0),1),"")
- Click on cell C2 of the projects tab, then click Data, Data Validation from the menu. Populate the popup as follows (for cells C2:C1000):
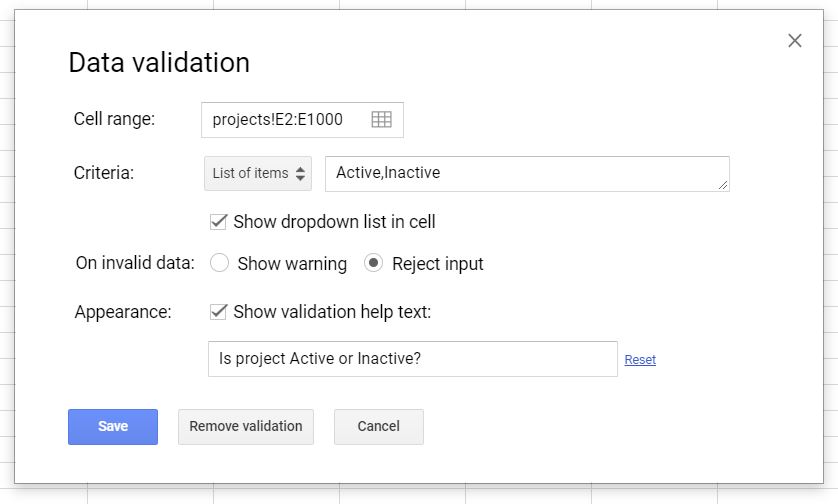
- Click on cell E2 of the projects tab, then click Data, Data Validation from the menu. Populate the popup as follows (for cells E2:E1000):
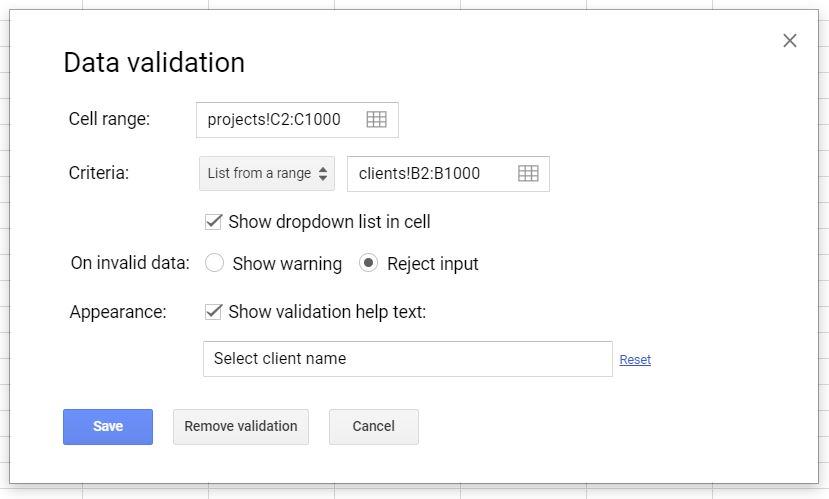
- Click on cell C2 of the project_access tab, then click Data, Data Validation from the menu. Populate the popup as follows (for cells C2:C1000):
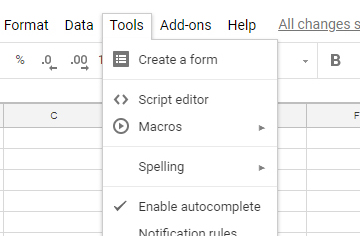
- Add a script file to the sheet by clicking on Tools, Script Editor on the menu.
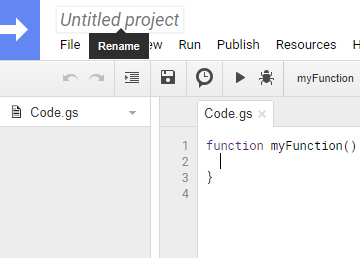
- Rename the script file: time_tracker
- Delete all existing code and replace with the code from here.
- Click on the floppy disk icon to save the code.
- On the menu click Publish, Deploy Web App. Then fill in the form as follows:
- Copy the "current web app URL" and save it somewhere safe for later use.
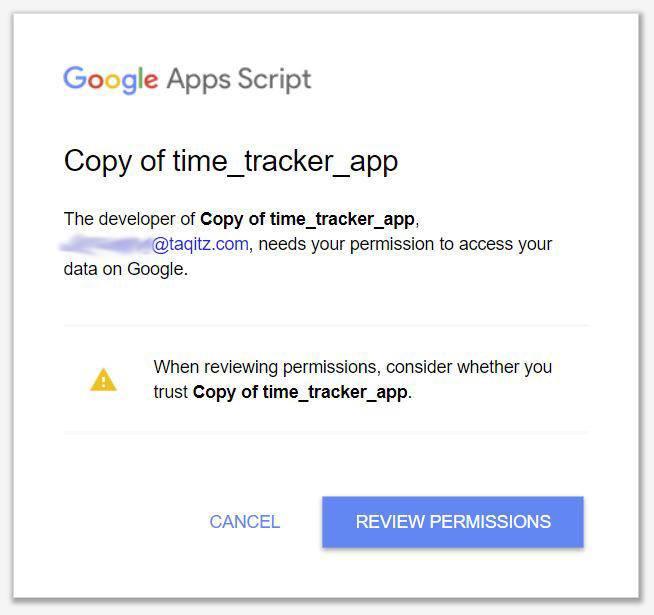
- Paste the "current web app URL" into a web browser. After the page loads, it will ask you to review permissions.
- Log into or click on your account, then click Allow.
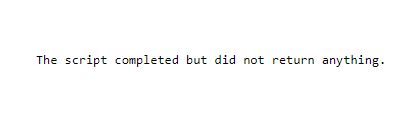
- After allowing the script to access your sheet, the following will appear:
- Go to https://script.google.com and create a new script (or save a copy of this one by opening it and clicking File, Make a copy...).
If you saved a copy, skip to 2(f). - Change the name of the script to: time_tracker_app
- Change the name of the default script to: site_code.gs
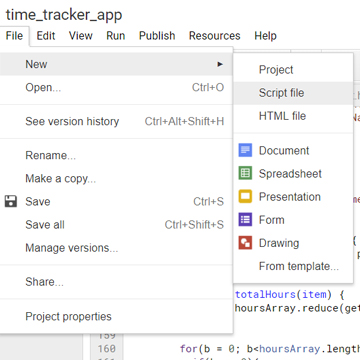
- Click File, New, HTML file and create 3 html files named:
- INDEX
- stylesheet
- javascript
- Click File, New, Script file and create a second script file named: slack_code
- Open each of the files, delete all existing code, and replace it with the code from each of the following links:
- On site_code.gs, replace the URL reference at line 16 with the URL of the sheet you create at step 1.
It should look like this:https://docs.google.com/spreadsheets/d/xxxx/edit#gid=1111Except the xxxxx and 1111 are are instead unique values to your sheet. - On javascript.html, replace the script URL at line 17 with the current web app URL from step 1(m).
- Publish your app by following steps 1(l) and 1(m) on the time_tracker_app.
- Copy and paste the script URL created in step 2(h) into your browser and click Review Permissions.
- Log into or click on your account, then click Allow.
- Skip this step if you don't use Slack, or don't want a daily Slack reminder.Create a Slack Webhook by following the instructions here.
- On slack_code.gs, insert your Slack Webhook URL from the prior step in the double quotes on line 4.
- On slack_code.gs, insert your script link created at step 2(i) on line 8
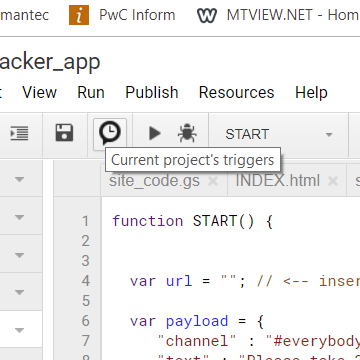
- Click on the triggers icon.
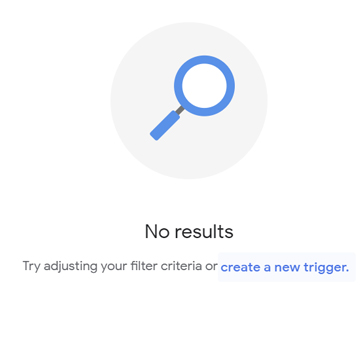
- Click create new trigger.
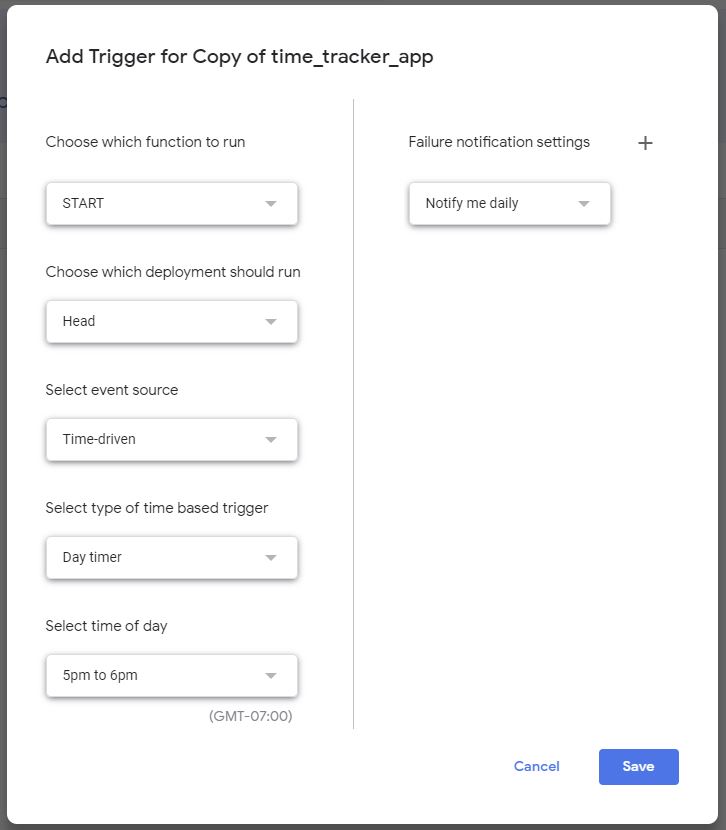
- Set the trigger details as follows (to have it send a Slack message daily between 5 & 6pm) and click "save".
- Test your time tracking app by copying and pasting the URL created at 2(h) into a web browser. If the loading icon continues to spin and never loads, double check that:
- You have tab names that match the local-part of your email,
- Your permissions are set properly for BOTH the code.gs and site_code.gs (see steps 1(n) and 2(h)),
- Your projects show as 'Active', and
- You have given yourself access to at least one project.